My kids have been composing their Christmas lists since last January, but I am determined to help them think more about gifting this holiday season. I love their infectious enthusiasm for Christmas and I want to translate some of this energy into creating kid made gifts for their family and friends.
Are kids really capable of making things that people would actually want? I think absolutely yes. A group of us are actually working on creating a collection of kid made gift ideas that you could use for grandparents, friends, teachers and more.
At our house we decided to make our super simple DIY magnets this year. They combine our love of art with an seemingly obsessive interest in magnets. Plus who doesn’t have things they need to hang on the fridge.
3 Easy Steps to Making Your Own Magnets
These magnets are truly easy to make and they work great. We made about 100 of them in one afternoon and only about 45 total minutes of effort. A fun and merry way to spend some time with your kids.
Step 1: Gather Supplies
To make these magnets you only need 4 things:
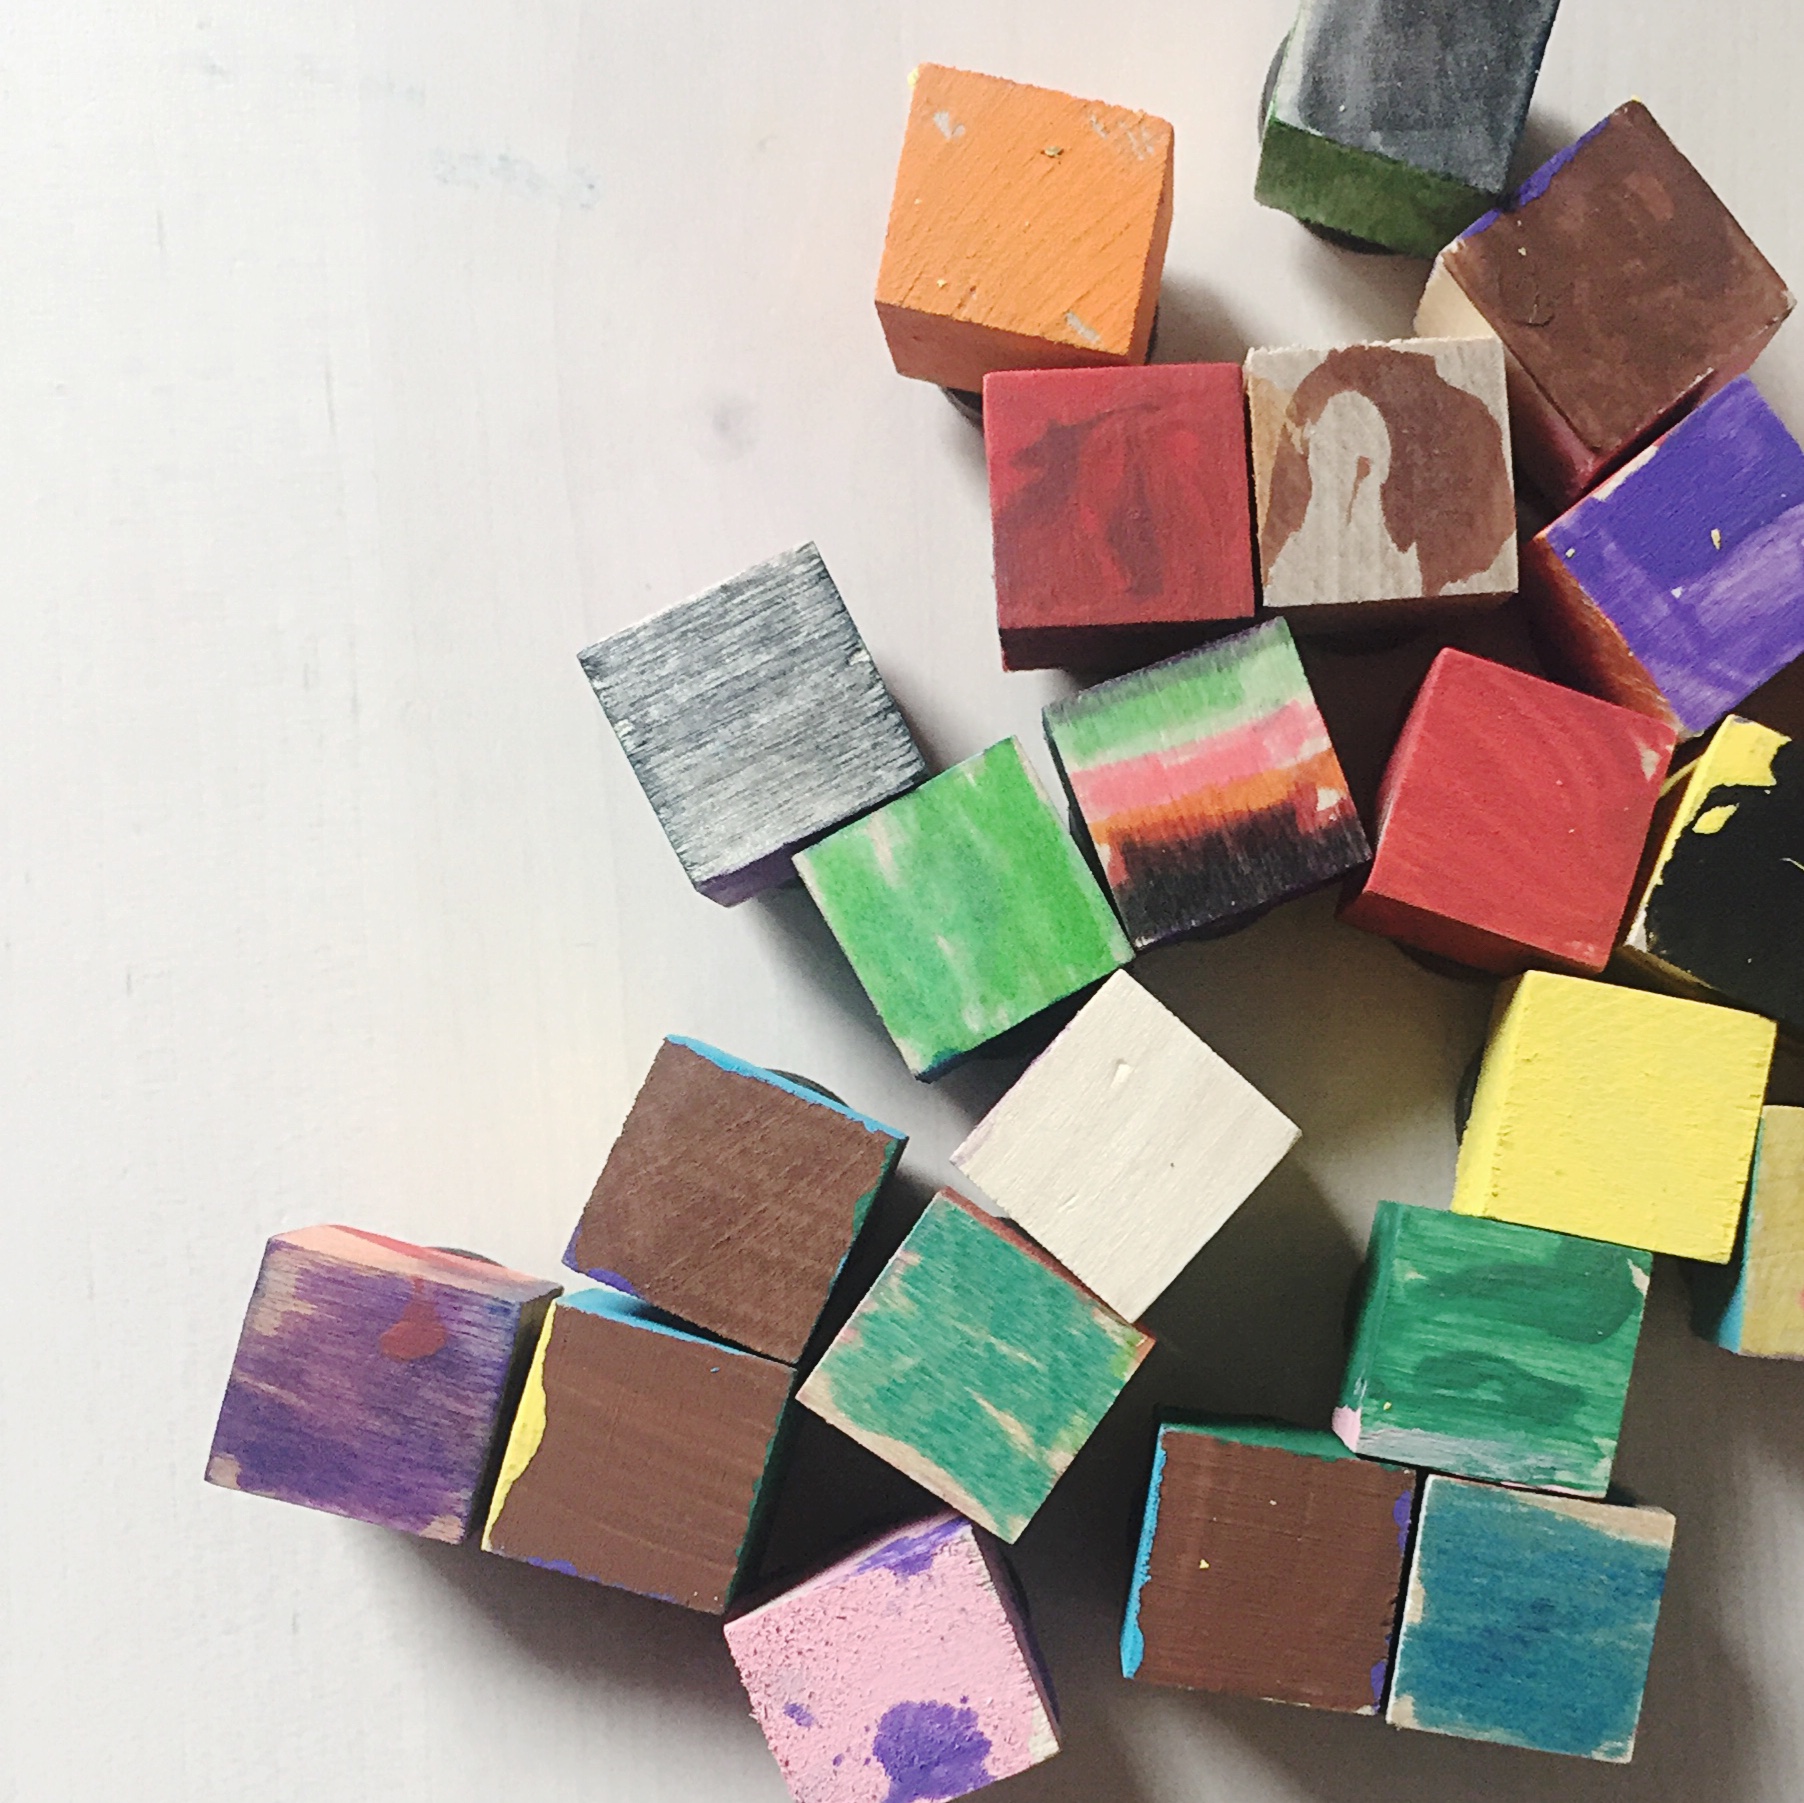
1. Wooden Shape. This will be the essence of your magnet and there are a lot of different options if you look around at your craft store. We went with a simple cube shape.
2. Craft Supplies. You can make these with markers, watercolors, or acrylic paints. They look a little different depending on what you use, but they all work. You can see more details below.
3. Magnets.
4. Craft Glue.
Step 2: Paint or Color
Prep your area by covering the table if you are worried about paint or marker marks. I prepared a work space for each kid with craft supplies and a plate of wooden cubes. (You can buy a bag of 30+ for cheap – we used 3 bags).
We did one art supply at a time, but they were all on the table so the kids knew they could try a different one whenever they wanted.
My thought was that we would try a bunch of methods and I’d share the best, but all 3 methods worked well.

1. Watercolors
This was probably my favorite. I just love the gentle colors of watercolors.

2. Markers
Markers are obviously super simple and worked well. We had fun writing letters and drawing different shapes on our cubes.

3. Acrylic Paints
This was the favorite for my kids. They like acrylic paints. They have bright vibrant colors and covered the blocks in a smooth coat of color. They definitely did the best job making bright bold magnets if that is what you are going for with these. The downside of acrylic paints is that they are not as easily washable (but not terrible).
Whenever you are done painting and/or coloring your magnet shapes, let them dry completely before moving onto Step 3.
Step 3: Attach the Magnets
We used tacky glue to attach the magnets because I wanted to make sure the magnets would stay. I did this step for them, but older kids could also do this with some supervision.
If you are worried about the tacky glue, regular glue is supposed to work as well.

We plan to gift a set to various loved ones (act surprised or at least delighted next month if you are reading this now) and there are some happily gracing our fridge right now.

This is not specifically a story time post, but I do think that if you used watercolors or markers which dry quickly, this activity would work well as a table invitation after story time. This project was easy, quick, and relatively mess-free.
Pin this for later and then make sure to pop over and check out more kid-made gift ideas. Here are a bunch of fun ones!


These are a really gift idea and would be great paired with a piece of your kids art work as well.
Thanks Nicola! I love the idea of pairing it with art work too! Our grandparents would love that.
Fun craft! Each one is unique which makes it extra special as a gift.
That’s one of my favorite parts about the magnets. They all turned out so different. Hopefully our family will enjoy the uniqueness 🙂